


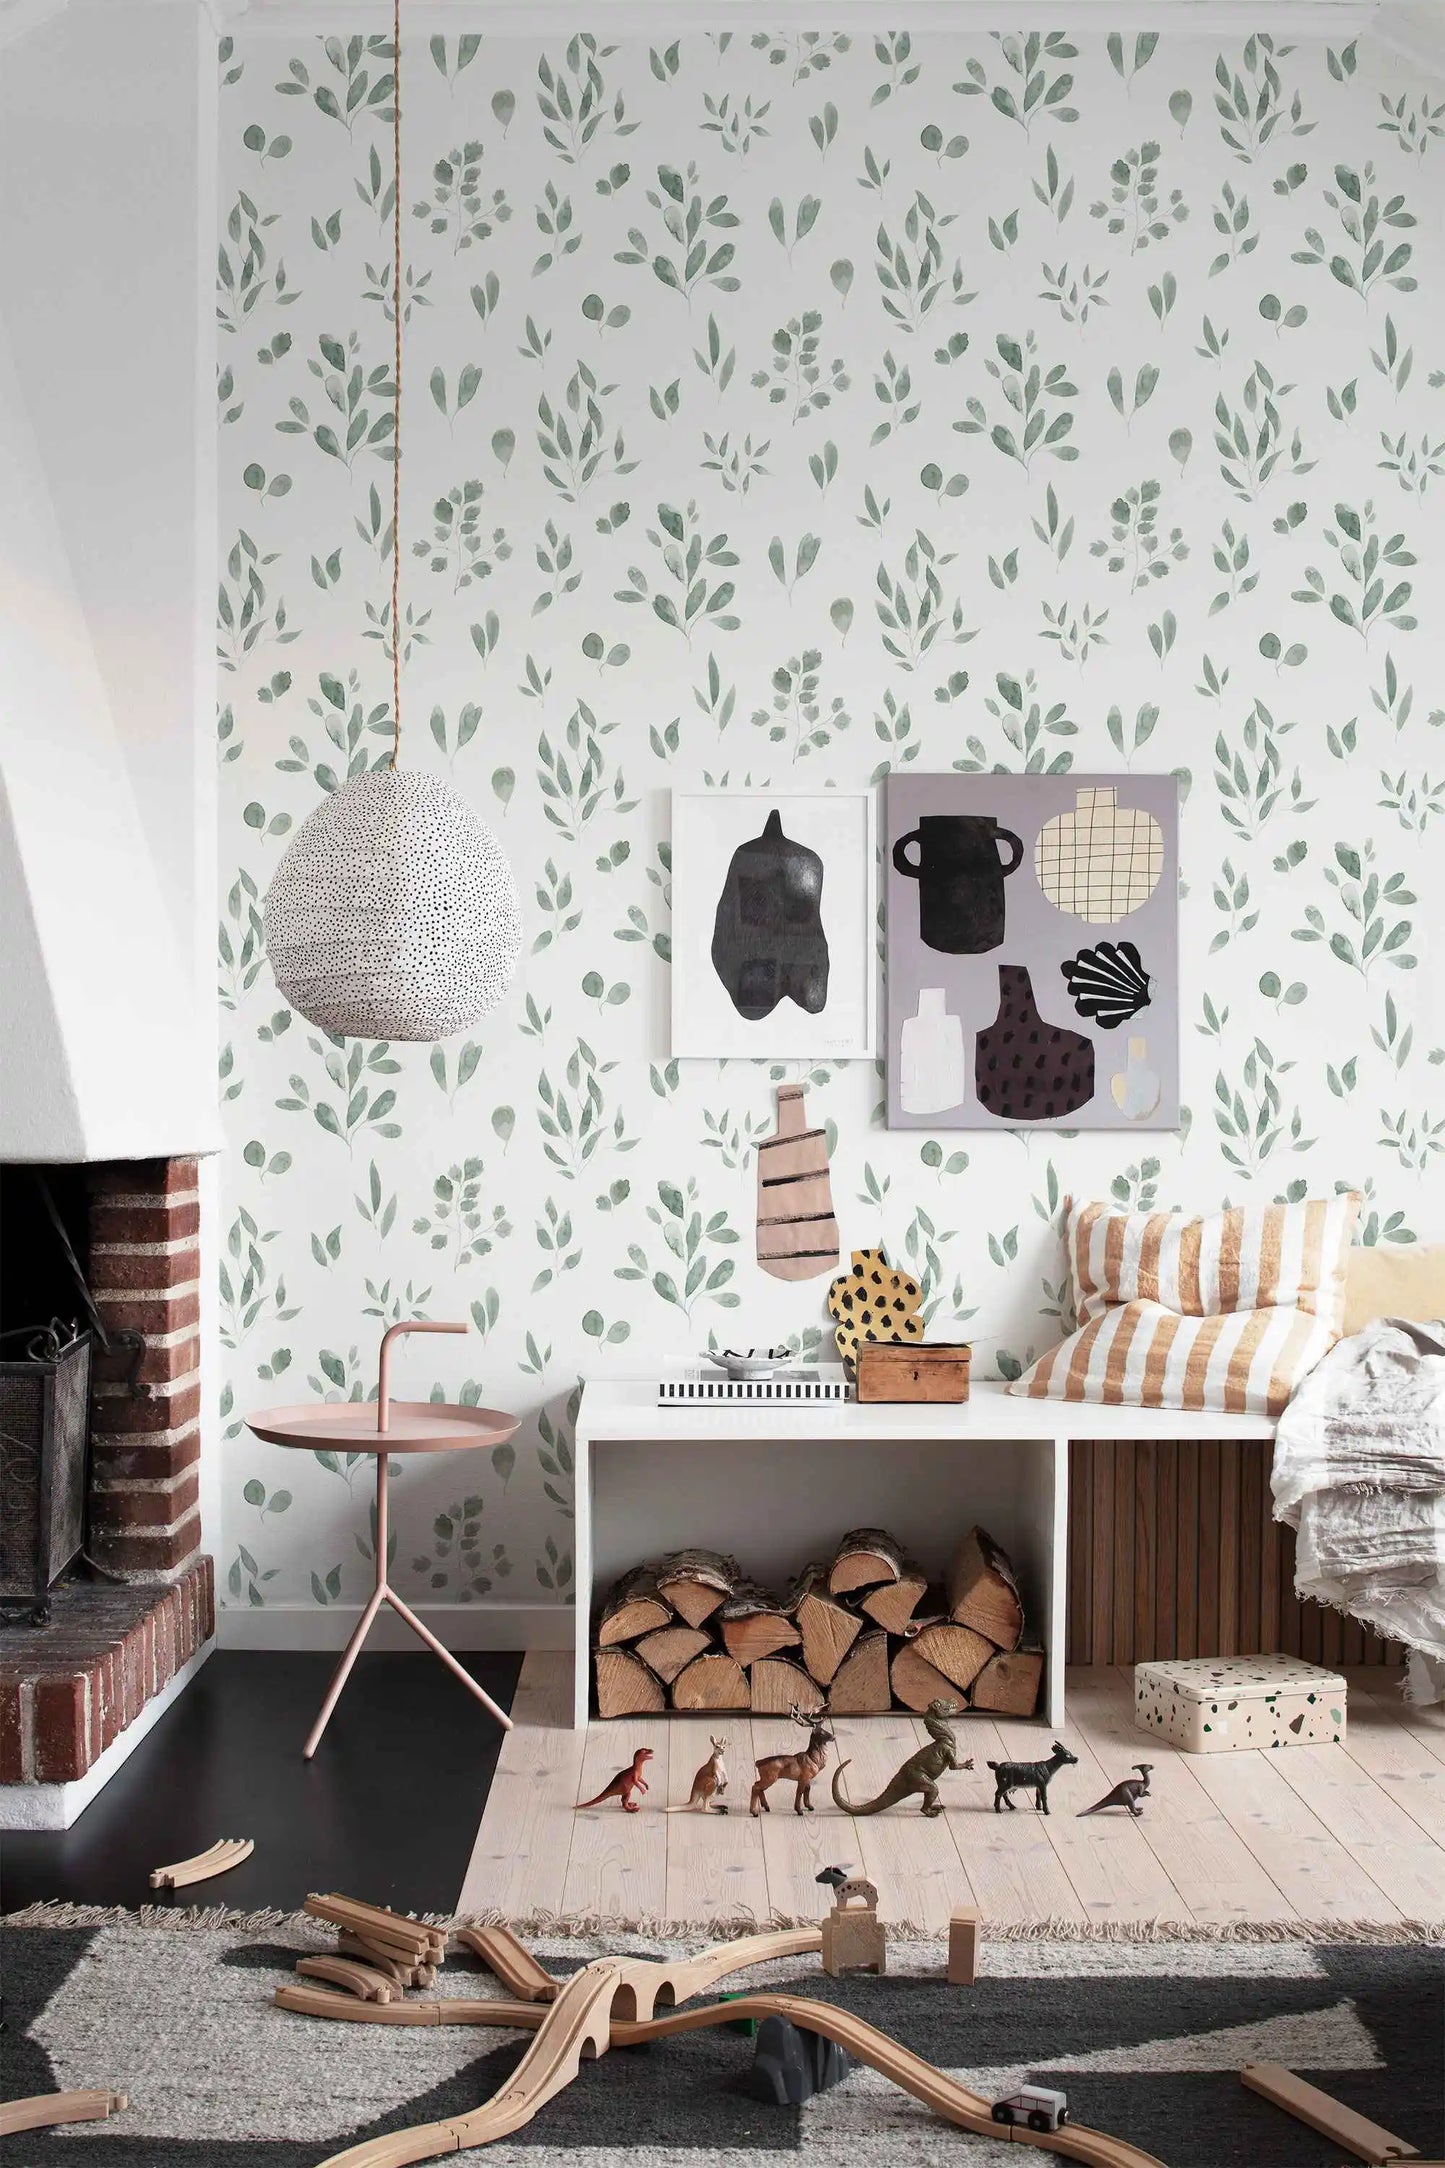

SPECIFICATIONS
Brand Name: Pixel&Wall
CN: Jiangsu
Certification: NONE
Charge Unit: Usd/Roll
Choice: yes
Feature: Environment Friendly,Mildew Resistant,Formaldehyde-free
Function: Mould-Proof,Fireproof,Moisture-Proof,Sound-Absorbing,Anti-static
High-concerned chemical: None
Material: Wood fiber wallpaper
Model Number: 24238
Origin: Mainland China
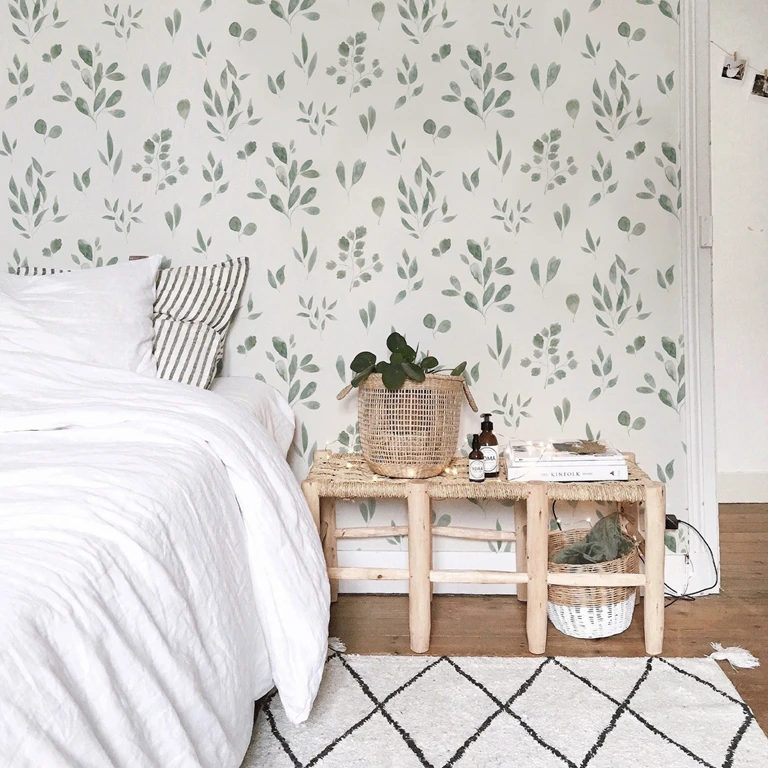
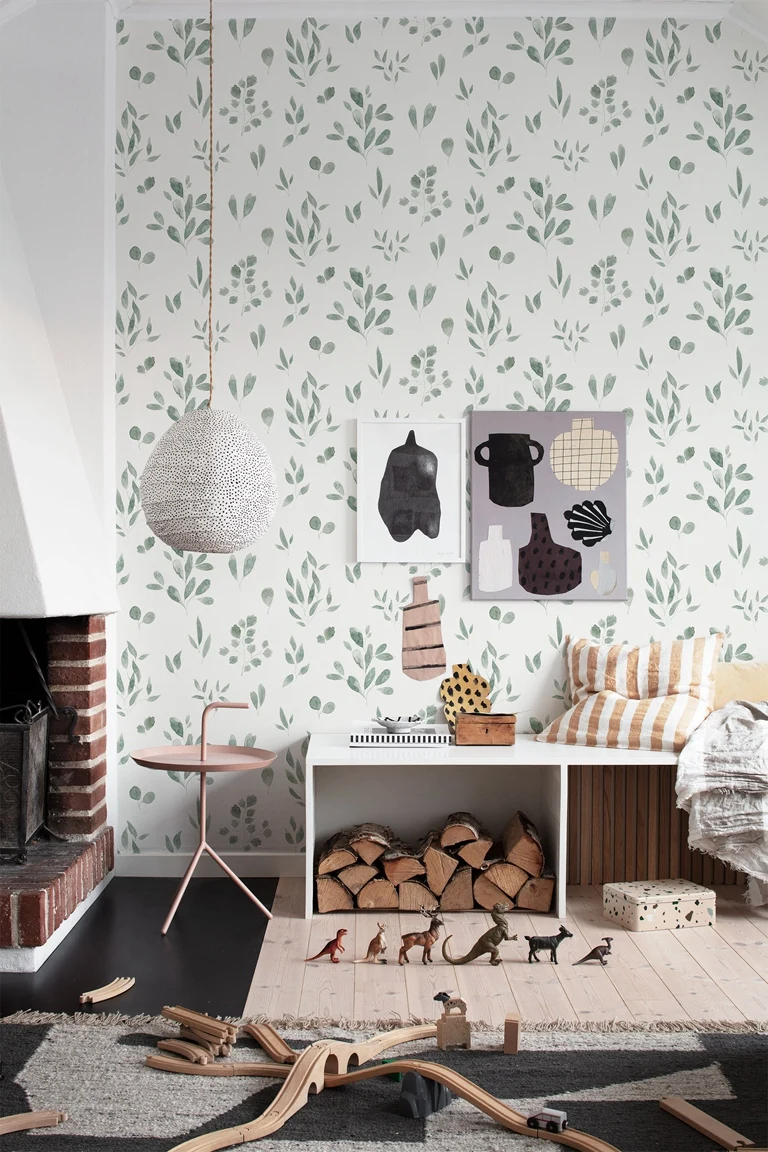
Pattern: leaf
Pattern Type: leaf
Style: For Kids,For Kids
Surface Treatment: Paper Wallpapers
Type: Paper Wallpapers
Usage: entertainment,Commerce,Administration,Household
Use: Living room,Bedding Room,Study,Kitchen,Kids' Room,Wedding House,Elders' Room
is_customized: Yes
semi_Choice: yes

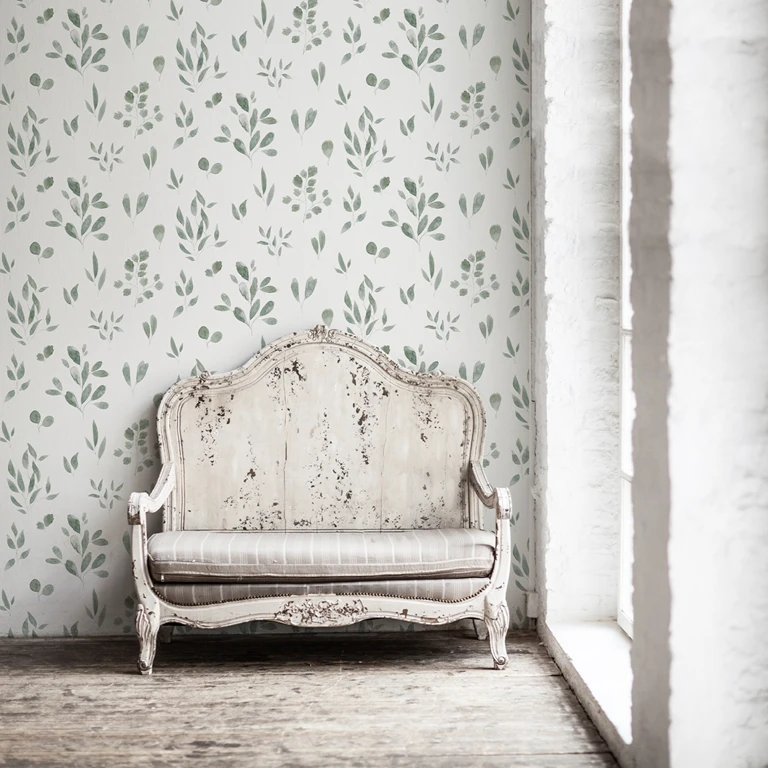
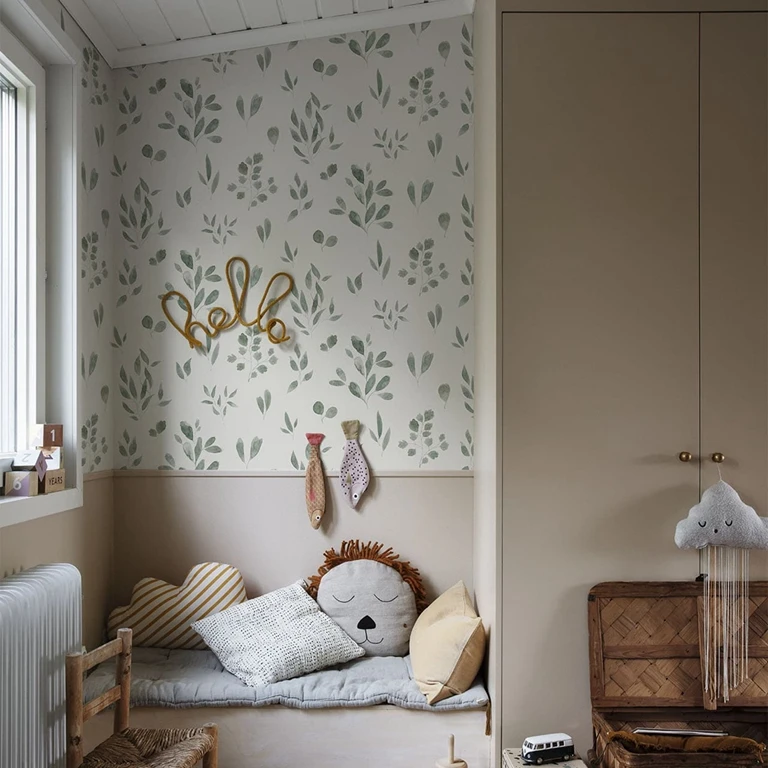
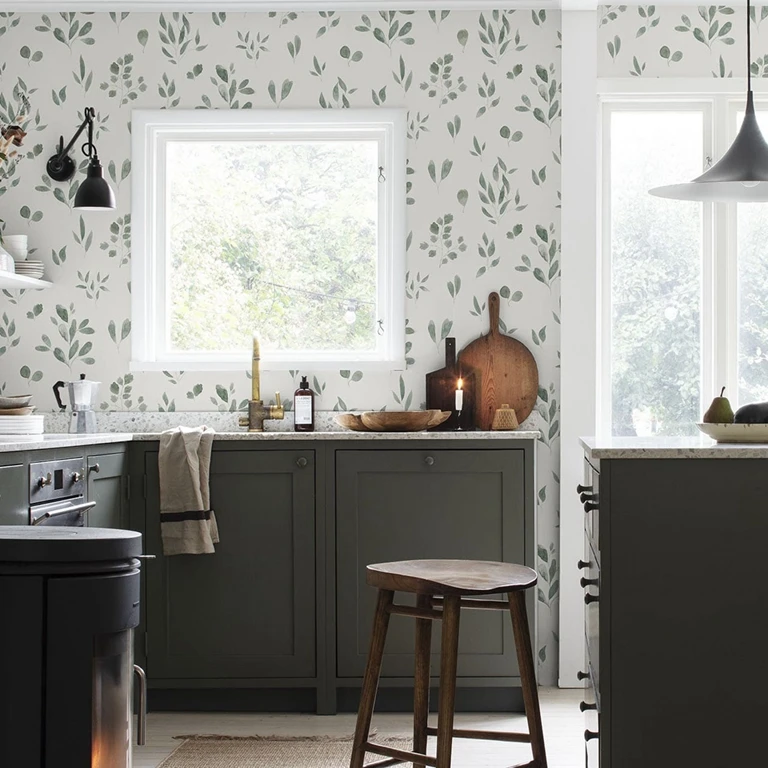




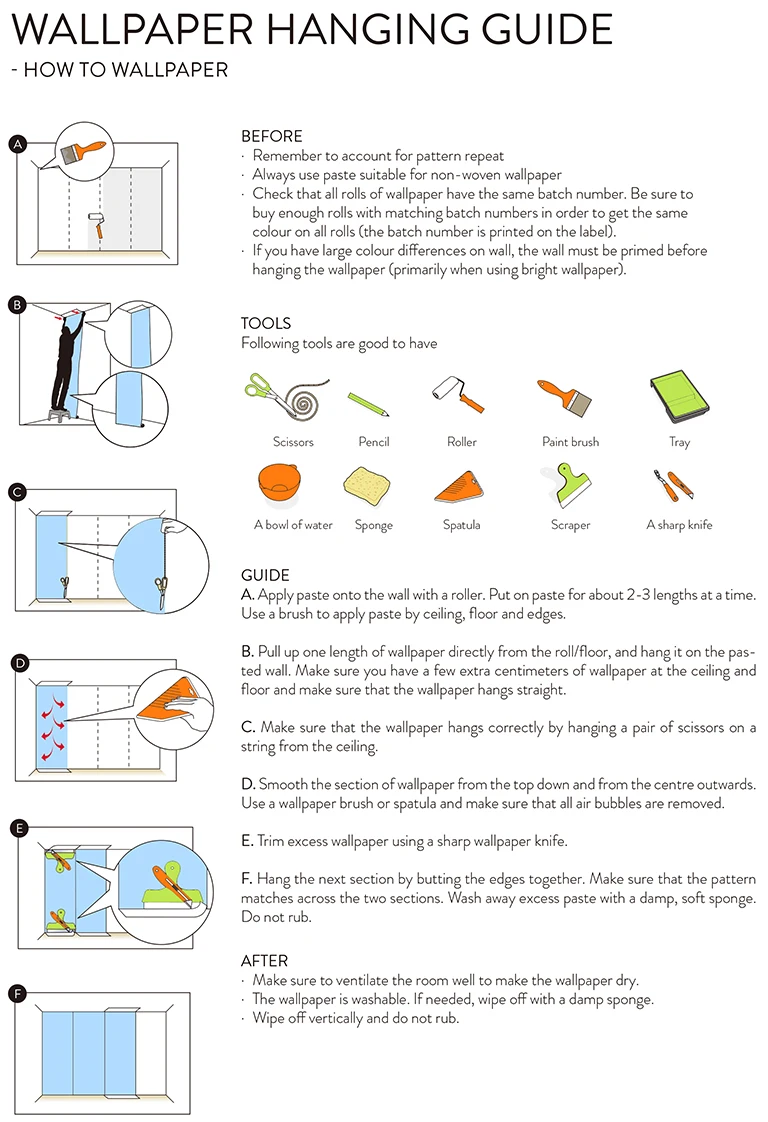
How to apply our wallpaper?
STEP 1: Prepare the wall surface
Your wall must be completely flat, clean and dry. Levels rough surfaces, rough, holes and uneven spots.
Your wall should be a uniform color. If not, you may notice differences in color on your wall once installed. If your wall has multiple colors, we recommend that you paint again.
Make a vertical line with a plumb line on the left edge of the area you want to cover with the mural. If you have a plumb, one can make your own by tying a heavy object on the end of a rope. This line is very important because it is the guide to start placing your mural.
STEP 2: Prepare the wallpaper
The wallpaper panels are made with a width of 50 cm(19.7"). Panels are received printed continuously on a roll and numbered at the top.
Cut independent panels and do a preview on the ground following the numerical order from left to right.
Measure with a meter the height of your wall. If it's less than the photomural, you must cut it to fit properly. Do it while you have it on the floor but leave a margin of an inch to correct any differences in level on the wall.
STEP 3: Prepare the glue
You may buy the glue from your supermarket, confirm it's for non-woven wallpaper use.
Prepare the glue following the instructions on the bag of the glue you bought. Do it slowly. So you will obtain a uniform mixture and without bubbles.
STEP 4: Attach the paper to the wall
Applying glue on the wall evenly using a brush or a paint roller. Start distributing from the line you marked as a guide to the plummet. Don't paste the entire wall, do it only in the area that will cover the first panel on the left, leaving a few inches outside the right.
Apply the first panel of the mural on the wall starting at the top left. Check that is aligned with the guide.
Presses against the paper with a dry roller or sponge to remove any air bubbles.
Place the following panels in the same way in numerical order. The panels must not be mounted on each other but are set on edge.
Clean the excess glue with a damp sponge.
STEP 5: Finishing
With the help of a ruler and a cutter, adjust the sides and the top and bottom of the wall if necessary.
Let dry 24 hours; you will get a perfect final result
| Dimensions |
50cm X900cm, 50cm X600cm, 50cm X300cm, 50 X30cm Sample |
|---|
Your Custom field here
Frequently ask questions
This theme is designed to support a wide range of furniture, including living room, bedroom, kitchen, office, and outdoor furniture.
Yes, the theme is fully responsive and optimized for all devices, including desktops, tablets, and mobile phones.
Absolutely. You can easily adjust colors, fonts, and layout elements through the theme settings to match your brand’s style.
Yes, the theme includes a built-in currency converter to accommodate international customers.
Yes, the theme includes advanced filtering options, allowing customers to filter by furniture type, color, material, and price.
Yes, you can add a blog to share design tips, furniture care instructions, and other content to engage with customers.
The theme supports product reviews, helping customers share feedback and build trust in your products.
Yes, the theme has sections tailored for furniture, such as room setups, furniture collections, and featured products.
Social media integration is supported, allowing you to showcase your furniture collections through an Instagram feed or social links.
This theme is compatible with all Shopify-supported payment gateways, ensuring smooth transactions for your customers.